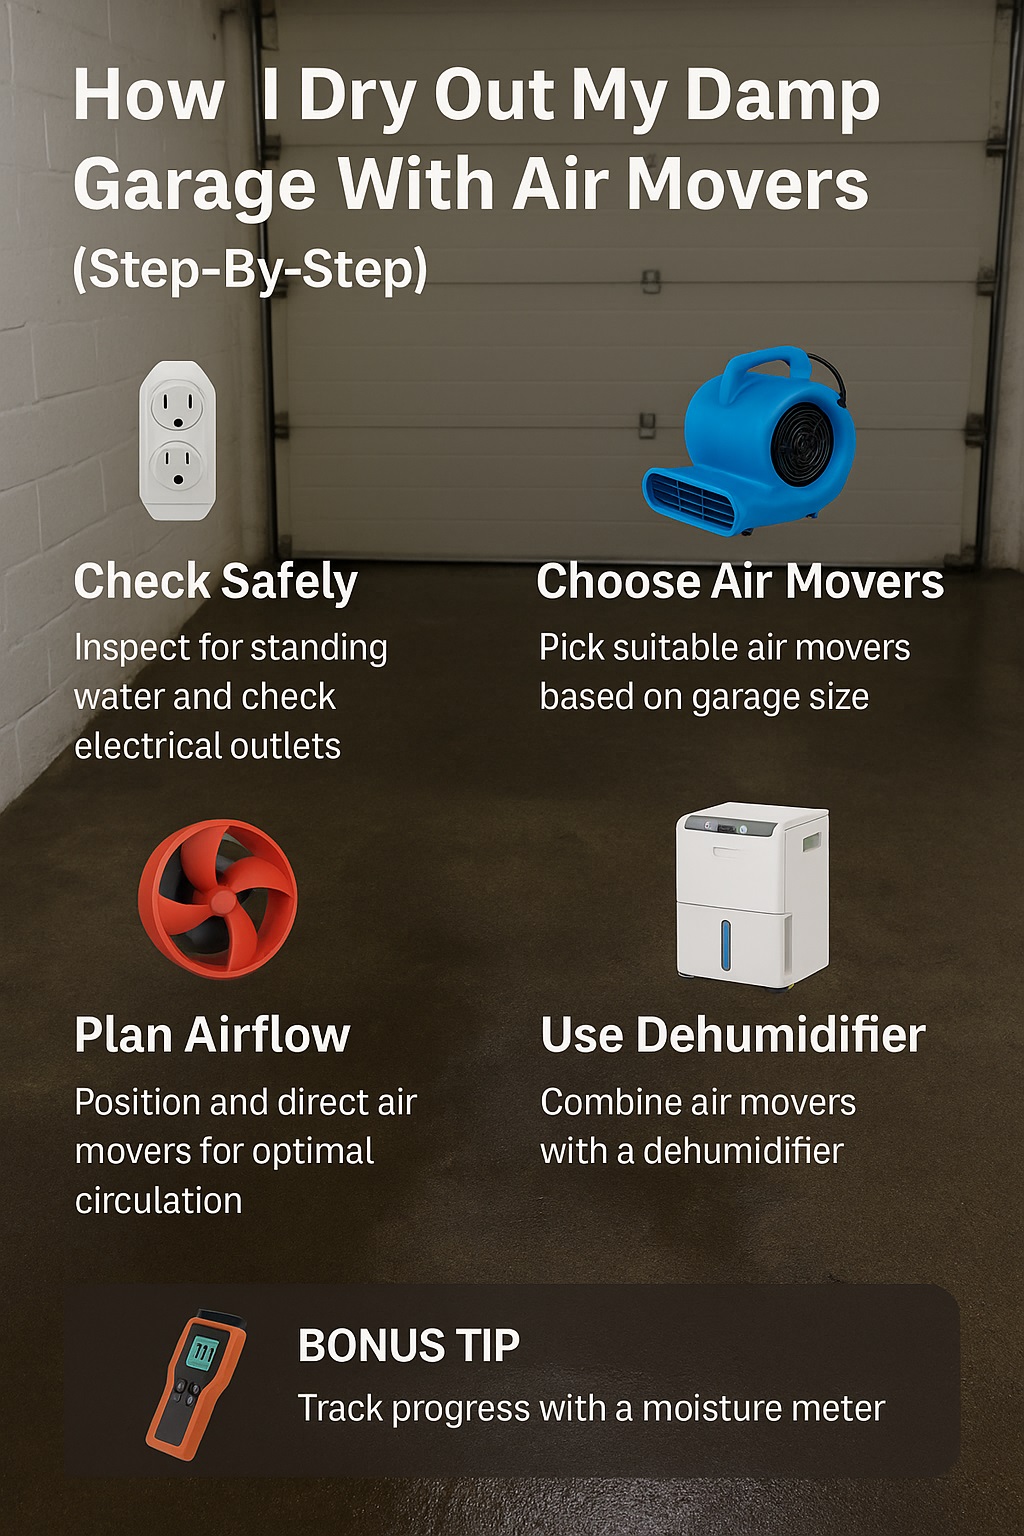
My garage used to smell like a wet dog after every big rain, so I had to learn a simple, repeatable way to dry it properly with air movers.
Drying out a damp garage with air movers helps prevent mould growth, protect tools and storage, and reduce musty smells fast. This step-by-step guide explains airflow, dehumidifiers, and safety checks so a wet concrete floor, walls, and parked car all dry evenly without guesswork.
Key garage drying facts
| Metric | Typical value |
|---|---|
| Starting relative humidity in a damp garage | 70–85% RH |
| Target relative humidity for effective drying | 40–50% RH |
| Recommended air changes per hour when drying | 6–10 ACH |
| Typical drying time with air movers + dehumidifier | 24–72 hours |
| Common air mover airflow range for garages | 2,000–3,000 CFM |
Source: epa.gov
🔍 My Real-Life Garage Damp Problem and What I Learned First
When I realised “normal” damp wasn’t normal
The first time I really noticed my garage had a problem was when I opened a cardboard box and the bottom basically peeled off in my hand. My concrete floor looked patchy, my tools had light rust, and the whole place smelled like an old gym bag after rain.
How damp showed up in my own garage
I saw that the concrete “sweated” near the garage door, the lower part of the plasterboard looked slightly stained, and the wooden shelves felt cool and clammy. I had always blamed the weather, but I finally accepted my garage wasn’t drying out properly between wet days.
Why I stopped ignoring the musty smell
The turning point was finding a bit of fuzzy mould on the back of a storage panel. That’s when I started reading what water-damage restorers and building inspectors say about moisture and mould, and decided to treat my garage the same way they treat a small water-damage job.
Dr Karen Mills, Public Health Physician (FRACP), often reminds people that ignoring “small” indoor damp issues can sometimes matter more to health than dramatic leaks you fix quickly.
🦺 How I Check My Garage Safely Before I Plug In Any Air Movers
My basic safety walk-through
Before I even think about air movers, I do a quick “trip and shock” walk-through. I look for standing water near outlets, loose extension leads, and any power boards sitting on the floor. If anything electrical looks dodgy or submerged, I stop and call an electrician.
How I decide if it’s DIY or pro-level
If the water is deeper than a puddle, or it’s come from a sewage line or unknown source, I treat that as a professional job. When it’s more like condensation, wind-blown rain, or a small leak from the garage door, that’s when I feel comfortable doing a DIY dry-out.
Quick checks I make before starting fans
I open the garage, get some light in, and quickly check for obvious structural cracks or bowing walls. Then I plug one small tool in and test the outlet with something low-power before I trust it with an air mover. It’s boring, but it keeps me safe and insured.
James O’Neill, Registered Electrician (NZ Practising License), would say that “safe power first, tools second” is the right order, even when you’re in a hurry to dry things out.
📏 How I Choose the Right Air Movers for My Garage Size
How I think about garage volume, not just floor area
My first mistake was only thinking in square metres. Now I multiply length × width × height to get the volume, then I picture how many “loops” of air I want spinning through that space. A single, small air mover might be fine for a tiny single garage, but not a big double.
Matching air movers to how wet things actually are
If it’s just light damp and a musty smell, I might start with one moderate air mover around 2,000–2,500 CFM. When I’ve had proper wet tracks from a car, or a blown-in storm, I add more air movers and aim for stronger airflow, especially along the floor and wall bases.
Thinking about power and circuits before I overload anything
I also learnt not to throw all my drying gear onto one power point. I check the amps on each air mover and dehumidifier, and spread them across different circuits where possible. Tripping breakers mid-dry is annoying, but overheating wiring would be much worse than a slow garage.
Sarah Liu, Chartered Electrical Engineer (CPEng), likes to point out that efficient drying is pointless if you risk overloading old circuits just to save an hour or two.
🌬️ How I Plan My Airflow Before I Even Switch My Air Movers On
Visualising the air loop in my head
Before I plug anything in, I stand in the middle of my garage and imagine the air doing a racetrack loop: where it’s blowing, where it’s returning, and where the damp air escapes or gets sucked into a dehumidifier. This simple mental picture stops me from aiming fans randomly.
Doors, windows, and when I keep everything shut
If the outdoor air is cold and very damp, I keep the garage mostly closed and let the dehumidifier handle the moisture the air movers kick up. On dry, breezy days, I sometimes crack the back door or a small window to create a gentle cross-flow, not a wind tunnel.
Avoiding dead corners and wasted airflow
I learned to watch for “dead pockets” where air barely moves. I use a tissue or a light strip of paper near corners and under shelves to see if it flutters. If it hangs dead, I adjust the angle or position of an air mover until the whole garage gets some movement.
Dr Martin Reyes, Building Science Consultant (PhD, ASHRAE Member), likes to compare airflow planning to chess: rushing in without a plan usually loses you more time than it saves.
🛠️ How I Set Up My Air Movers Step-By-Step in a Real Damp Garage
My starting layout for most damp garage jobs
I usually start by placing one air mover low to the ground, blowing across the wettest part of the floor, not straight down into it. Then I add a second one along a wall, angled so the air follows the perimeter, lifting moisture off the lower wall area and baseboards.
Adjusting for shelves, benches, and tight corners
In garages with big workbenches or storage racks, I slide an air mover slightly under the bench or angle it along the gap between shelving and wall. I’m trying to flush out stale air from those pockets, because that’s where mould loves to hang out and surprise me later.
When I add or move extra air movers
If the garage still feels heavy and damp after a few hours, I’ll add another air mover or shift one to face a different wall. I’ve learned not to be lazy about repositioning gear; sometimes a tiny angle change dries up a stubborn patch by the next morning.
Emma Clarke, Certified Water Damage Technician (IICRC), often says that moving the equipment once or twice during a job is “cheap labour compared to expensive mould remediation later.”
💧 How I Use Dehumidifiers and Ventilation With My Air Movers
Why I don’t rely on air movers alone
I used to think blasting air around was enough. Then I realised I was just moving damp air from one side of the garage to the other. Now, if humidity is high, I always pair my air movers with a dehumidifier so the moisture has somewhere to actually go.
My favourite basic setup on a wet, humid day
On a wet day, I keep the garage closed, put the dehumidifier closer to the centre, and let the air movers push air along the floor and walls in a loop that feeds back towards the dehumidifier. I empty the tank regularly or run a hose drain so it can keep working.
When I let outside air help instead
On crisp, dry days, I sometimes open the garage door slightly and crack a back window, then aim an air mover to pull fresh air in while another helps push damp air out. I still watch humidity with a cheap gauge so I know if the strategy is actually helping.
Luca Romano, HVAC Designer (Member, CIBSE), points out that controlling indoor humidity well can be more important for comfort than chasing tiny temperature changes.
📊 How I Track Progress and Know When My Garage Is Really Dry
Using my nose, hands, and a cheap humidity meter
My first tools are simple: my nose and my hands. If it still smells musty and feels cool and clammy, it’s not dry yet. I back this up with a basic humidity meter; once I’m consistently around 40–50% relative humidity, I know I’m in a safer zone for a garage.
Checking surfaces so I don’t stop too early
I run my hand across the concrete and the lower walls. They should feel dry and closer to room temperature, not like a cold, damp sponge. If I’ve got a basic moisture meter, I take readings at the same spots every few hours to see if the numbers are trending down.
Why I sometimes take photos or notes
When a job is bigger or linked to a leak, I snap photos and jot down times, humidity readings, and where I placed air movers. It helps if I ever need to talk to my insurer, and it also teaches me what worked best so the next damp garage goes faster.
Dr Helena Ortiz, Risk Management Specialist (ANZIIF Fellow), notes that simple records often save people stress when they’re proving they took “reasonable steps” after a moisture incident.
👥 My Real Customer Case Study: How I Dried One Damp Garage Step-By-Step
The starting situation after a big storm
One customer called me after a brutal storm drove wind and rain straight under their garage door. The concrete was visibly wet halfway into the garage, boxes were soggy at the edges, and the air felt heavy. Humidity was sitting over 80% when I checked it on arrival.
The gear and setup I used
I used two centrifugal air movers along the floor, one axial air mover aimed along the wall, and a medium-sized dehumidifier in the middle of the garage. Doors were kept mostly shut because outside air was still damp, with just a small gap for safe cord routing.
Simple progress table from that job
Here’s roughly how the humidity dropped over the first two days:
| Time | Garage relative humidity |
|---|---|
| Start (Hour 0) | 82% |
| Hour 6 | 65% |
| Hour 12 | 55% |
| Hour 24 | 48% |
| Hour 36 | 45% |
By the end, boxes were dry to the touch, the smell was gone, and the customer finally felt safe putting their tools back on the floor racks.
Peter Walsh, Chartered Loss Adjuster (ACII), might say this kind of simple data is exactly what helps move a claim along faster and with fewer arguments.
❓ My FAQs About Drying a Damp Garage With Air Movers
Can I just use a normal household fan?
I tried that at the start. A small house fan helped a little, but it barely moved air across the whole garage. Air movers push a lot more air at floor level, which is exactly where the worst moisture usually sits and where concrete and timber really need help to dry.
How long should I run the air movers?
For light damp and no visible puddles, I often run them 12–24 hours and re-check. After a proper wetting or storm, it might be 24–72 hours with a dehumidifier. I look at smell, surface feel, and humidity readings rather than relying on a fixed number on the clock.
Do I need a dehumidifier every time?
If the outside air is very dry, and the damp is mild, strong airflow alone might be enough. But when humidity is high, a dehumidifier turns a slow, frustrating dry-out into a predictable one. For me, it’s the difference between guessing and actually controlling the moisture.
Prof Anita Green, Building Services Engineer (CIBSE Member), warns that “fans without moisture control” can just spread damp air into more corners if conditions are already humid.
✅ My Key Takeaways for Keeping My Garage Dry in the Future
The simple checklist I now follow
These days I think in a simple order: safety first, gear second, airflow third, patience always. I check power, remove standing water, then set up my air movers and dehumidifier to work together. I don’t stop just because the floor “looks” dry for an hour or two.
Small prevention steps that save me work later
I improved my door seal, stored boxes off the floor, and keep the garage less cluttered so air can actually move. After heavy rain, I quickly check for new damp patches. Catching things early means I can run one or two air movers instead of fighting a full-blown mould party.
Why having a simple plan matters most
The biggest change isn’t the equipment; it’s having a clear, repeatable plan. Once I know where to place my air movers, when to add a dehumidifier, and how to track progress, drying a damp garage stops feeling like a mystery and starts feeling like a weekend project I can control.
Dr Samuel Price, Behavioural Economist (PhD), would say that having a simple, repeatable routine beats “perfect theory” because it actually gets used when real life feels messy and wet.
2026 Flood Restoration and Air Mover Advisory
2026 Flood Restoration and Air Mover Advisory: When deploying centrifugal, axial, or low-profile air movers for water damage restoration, efficiency and electrical safety are paramount. Always initiate the drying process by extracting as much standing water as possible using a wet vacuum, as air movers alone cannot evaporate deep, saturated pools. Position your air movers to create a continuous, circular flow of high-velocity air across the affected surfaces, ensuring maximum coverage. Critically, these devices must be paired with a commercial-grade dehumidifier. Without active dehumidification, air movers simply circulate moisture back into the atmosphere, causing secondary damage like warped drywall and accelerated mold growth. Ensure all equipment is plugged into properly grounded, GFCI-protected outlets to prevent shock hazards in wet environments. Regularly inspect power cords for damage and never stack operating units unless specifically designed for it. Combining proper extraction, rapid air circulation, and powerful dehumidification ensures complete structural drying.
Hire professional-grade equipment from 7 Hire. We offer fast local pickup or delivery across Auckland.