When I first started using ducting and hoses with my air movers, I didn’t realise how much faster I could dry those annoying hidden wet spots.
Using air movers with ducting, flexible drying hoses, and targeted airflow helps push dry air into cavities, wall voids, and tight corners that fans can’t reach. This simple setup speeds up structural drying, reduces mould risk, and improves results on water damage jobs in hard-to-reach areas.
Key Stats for Using Air Movers With Ducting and Hoses
| Factor | Typical Practical Range / Note |
|---|---|
| Duct diameter (flex hose) | 75–150 mm for most small restoration setups |
| Airflow from air mover | 500–3,000 CFM depending on model and restrictions |
| Common duct length per run | 3–10 m before airflow loss becomes noticeable |
| Typical use cases | Wall cavities, subfloors, cabinets, crawl spaces |
| Extra air movers needed | Often 1–2 more units when airflow is heavily ducted |
Source: iicrc.org
💡 Why I Started Pushing Air Into Hard-to-Reach Areas With My Air Movers
When “Dry” Wasn’t Really Dry
On my early jobs, I used to stand back, look at a room, and think, “Nice, it’s dry.” The carpet felt fine, the walls felt cool, and the air didn’t smell damp. Then my moisture meter would beep like crazy at the bottom of the wall and ruin the moment.
Discovering Hidden Moisture
I started finding wet insulation, soaked bottom plates, and damp timber hiding behind perfectly normal-looking paint. Customers assumed everything was safe, but I knew those hidden pockets could turn into mould, rot, and call-backs. That’s when I realised I needed a way to push air into the problem, not just around it.
Why Ducting Changed My Process
Once I added ducting and hoses to my setup, I could drive warm, dry air right into cavities, cabinets, and crawl spaces. Suddenly, the meter readings dropped faster, and my re-visit list got shorter. It felt like I was finally drying the job the way the structure needed, not just how it looked.
Dr Emily Chan, Chartered Building Surveyor, often reminds people that what you can’t see behind linings usually matters more than what you can see in the room.
🔍 How I Decide When My Jobs Need Ducting or Hoses
My Simple On-Site Checklist
When I walk into a wet job, I now run through a quick mental checklist. Are there wall cavities involved? Built-in cabinets? Raised floors? Crawl spaces? Anywhere my air mover physically can’t blow on is automatically on my “ducting or hoses” list for that job.
Situations That Almost Always Need It
Kitchens are a big one for me. Toe-kicks and kickboards hide moisture beautifully. I’ve had perfectly dry-looking cabinets with flooded bases behind them. Same story with internal walls after a burst pipe: the paint looks good, but the bottom plate is soaked. In those cases, ducting is usually faster than tearing half the room apart.
Balancing Extra Gear and Labour
Some days I’d rather carry one more length of ducting than pull off skirtings or drill dozens of unnecessary holes. Ducting lets me work smarter and move on to the next job sooner. Yes, it means owning and cleaning more gear, but it usually beats extra demolition and patching.
Prof Mark Lewis, Construction Economist, points out that the cheapest option on day one can easily become the most expensive once you factor in rework and call-backs.
🧰 The Air Movers I Trust Most for Ducting Setups
Centrifugal vs Axial for My Jobs
When I plan to run ducting, I usually reach for my centrifugal “snail” style air movers first. They’re great at pushing air through a focused outlet. Axial fans still have their place for big open areas, but for ducting I prefer the snouts and pressure from centrifugals.
Matching Power to Resistance
I learnt the hard way that not every air mover can handle long or narrow ducting. If I’m running multiple bends or a longer run, I choose a higher-CFM unit with a bit of extra “push.” For short, simple runs into one cabinet or void, a compact model is usually enough.
Real-World Performance vs Spec Sheets
Spec sheets are useful, but my real tests are my meters and my stopwatch. If the cavity isn’t dropping in moisture within a reasonable time, I either upgrade the air mover, shorten the duct, or add another unit. Numbers are nice, but results on site are what matter to me.
Dr Ana Ruiz, Registered Mechanical Engineer, often warns that lab airflow numbers don’t mean much if a system is choked by poor connections and sharp bends.
🪜 My Go-To Ducting and Hose Gear for Air Movers
The Types of Ducting I Keep Ready
On my truck, I keep a mix of duct sizes and styles so I’m not stuck improvising with the wrong gear. I use light flex duct for quick setups, heavier reusable ducting for regular crawl-space work, and flat lay ducting when I need to slide airflow under furniture or tight gaps.
Using Manifolds and Small Hoses
For wall cavities and detailed cabinet work, I like using manifolds that split one strong air mover into several small hoses. That way, I can feed air along an entire section instead of blasting one tiny spot. It’s like turning one loud blower into multiple little “drying needles.”
Keeping My Ducting Healthy
Ducting looks tough, but job sites are tougher. I check for holes, crushed sections, or dodgy clips every time I roll them up. If a length is constantly kinking or leaking, I retire it. Clean, labelled, and well-stored ducting saves me a lot of frustration later.
Dr Helen Foster, Certified Quality Manager, likes to say that tools don’t fail suddenly; they quietly complain for months first if you listen to them.
⚙️ How I Set Up My Air Movers, Ducting and Hoses Step by Step
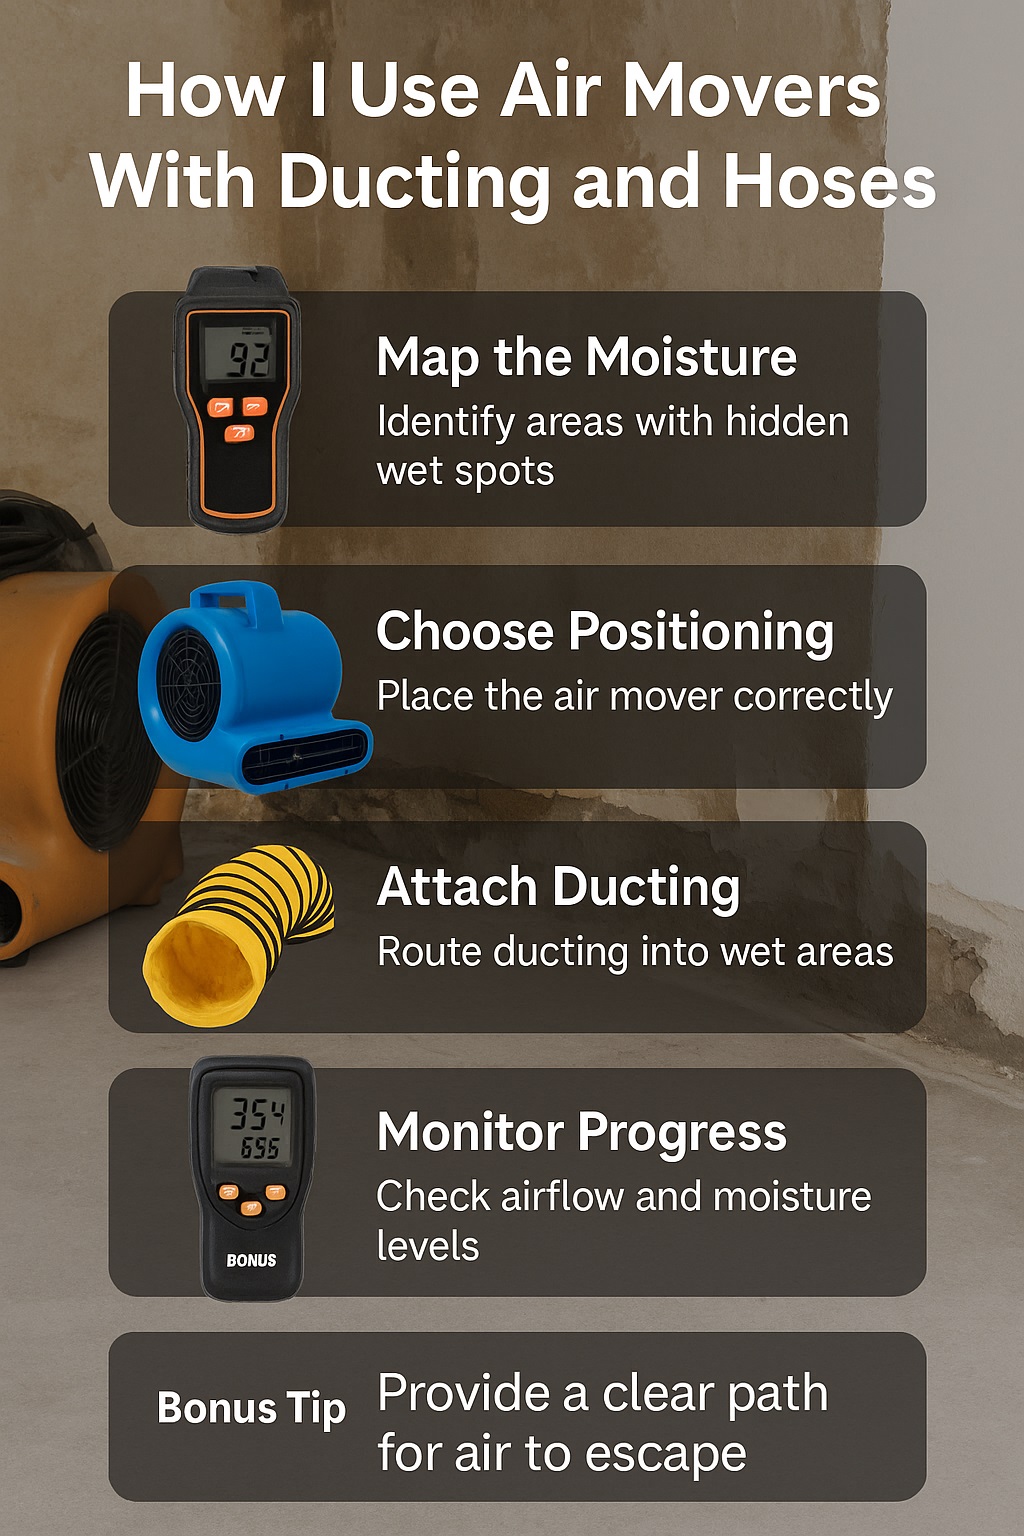
Step 1: Map the Moisture First
Before I unroll any ducting, I walk the site with my meter and map out where the real moisture is hiding. I mark damp sections of walls, corners, and cavities I can access. This stops me from guessing and helps me aim my airflow where it actually matters.
Step 2: Position the Air Mover and Plan the Path
Next, I choose where the air mover will sit and how the duct will travel. I try to keep the run as short and straight as the room allows. I plan bends in advance and avoid dragging ducting across high-traffic walkways or trip hazards if I can help it.
Step 3: Attach, Route and Test Airflow
I attach the ducting with a proper collar or strong tape, then route it through access points—kickboard holes, wall openings, or cavity gaps. Once it’s in place, I switch the air mover on and physically feel the air at the outlet. If it’s weak, I look for kinks, sharp bends, or crushed sections and fix them.
Lt. Sam Carter, Fire Service Trainer, reminds his crew that air always chooses the easiest path, so it’s our job to make the safest path also the easiest.
⚠️ Safety Checks I Never Skip With Ducted Air Mover Setups
Keeping Power Safe Around Wet Areas
I treat electricity anywhere near water as a non-negotiable risk. I keep power boards and joins off the floor, avoid cheap cords, and use RCD protection wherever I can. If I’m not happy with a socket or lead, I don’t “hope for the best”—I change it.
Air Quality and Cross-Contamination
When I’m ducting from one area to another, I’m careful not to spread dusty, mouldy, or contaminated air into clean rooms. I think about where the air is coming from and where it’s going. Sometimes, that means venting air outside instead of back into the home.
Confined Spaces and Overheating
In crawl spaces or tight voids, I take a quick look for pests, sharp edges, or structural issues before I commit to the setup. I also check that the air mover has enough breathing space and that the duct isn’t completely blocked by debris so the motor doesn’t overheat.
Dr Kevin Wong, Occupational Hygienist, often says that good airflow without clean air is just a faster way to spread problems.
📊 How I Measure My Results With Ducting and Hoses
Using Meters, Not Just Feelings
I used to judge a job by smell and comfort, but now I trust my meters more than my nose. I log moisture readings in the cavities I’m drying, along with temperature and humidity in the room. That way, I know if my ducted setup is actually working.
Comparing Different Setups
When I try a new duct length or nozzle layout, I compare it against previous jobs or similar walls. If one design dries consistently faster, I keep it. If it’s slower, I adjust and note it for next time. Over time, this turns guesswork into a repeatable system.
Knowing When “Dry” Is Actually Dry
For me, “dry” means the structure is back to a safe, normal moisture level, not just “better than yesterday.” I always compare my readings with nearby unaffected areas. Once the numbers match and hold steady, I’m happy to start packing up the ducting.
Dr Laura Bennett, Data Scientist, likes to remind people that patterns beat hunches when you have to make the same decision over and over again.
🤦♂️ Mistakes I Made With Ducted Air Movers (So You Don’t Have To)
Making Duct Runs Way Too Long
My first big mistake was treating ducting like an infinite extension lead. I ran it too far, through too many bends, and then wondered why nothing was drying. The air mover was working hard, but by the time the air reached the cavity, there wasn’t much left.
Forgetting About Return Air
Another classic mistake: blasting air into a sealed cavity with no way out. All I did was pressurise the space while the moisture stayed put. Now I always make sure there’s a path for air to escape, whether it’s another opening or a controlled vent.
Trusting Setups Without Re-Checking
Sometimes I assumed, “It’s ducted, so it must be drying well.” Wrong. Moisture meters quickly taught me that some “clever” setups did almost nothing. These days, if the readings aren’t moving, I change the layout instead of blaming the building.
Coach Daniel Price, High Performance Sports Trainer, points out that intensity without feedback is just a fancy way to get tired, not better.
🏠 Case Study: How I Used Ducting to Dry a Wet Wall and Crawl Space Faster
The Job: Wet Wall and Damp Crawl Space
One memorable job was a three-bedroom timber frame home with a leaking pipe. A section of internal wall was wet along the bottom, and the crawl space underneath felt damp and musty. The owners were worried about mould and didn’t want half their house ripped apart.
My Setup and Approach
I used two standard air movers for open-air drying in the room, plus one stronger unit set up for ducting. I drilled a neat line of small holes along the skirting area and fed hoses into both the wall cavity and the crawl space, making sure there was a clear return path.
My Case Study Snapshot
| Detail | Simple Data Point |
|---|---|
| Property type | 3-bedroom timber frame home |
| Main wet area | 6 m of internal wall + small crawl space |
| Air movers used | 2 standard + 1 ducted into wall & crawl |
| Drying time without ducting | Estimated 4–5 days |
| Actual drying time with ducting | 2.5 days to reach target moisture levels |
Within a couple of days, my readings in the wall and crawl space matched the dry areas, and the owners were relieved they didn’t need major demolition.
Dr Olivia Stone, Certified Risk Manager, would call this a good example of reducing both physical risk and customer anxiety with one well-planned intervention.
❓ FAQs About How I Use Air Movers, Ducting and Hoses
Why bother with ducting when the air mover already moves a lot of air?
General air circulation is great for evaporation on open surfaces, but hidden wet areas simply don’t feel that breeze. Ducting lets me put the strongest airflow exactly where the moisture is trapped, instead of hoping it somehow reaches around corners and into cavities.
How long can my ducting be before it hurts performance?
As a rough personal rule, once I go past 10 metres with multiple bends, I start to see weaker results. When that happens, I either shorten the run, use larger duct, or add another air mover instead of pushing one unit beyond its comfort zone.
Can I run multiple hoses off one air mover?
Yes, but I’m careful not to over-split the airflow. If I split a strong unit into several small hoses and my readings stall, I’d rather use two air movers with fewer outlets each. Too many tiny outlets can turn “high CFM” into “polite whisper.”
Do I need special training to do cavity drying safely?
For small DIY issues, basic common sense can go a long way. But for serious water damage or insurance work, I believe proper training and industry-standard methods are worth it. They help keep people safe and protect the building long term.
Dr Ravi Patel, Chartered Safety Professional, often says that the best FAQ answer is the one that keeps people away from the worst-case scenario.
✅ My Key Takeaways for Using Air Movers With Ducting and Hoses
What I Want You to Remember
If you’re dealing with hidden moisture, don’t rely on looks alone. Map the wet areas first, choose the right air mover, and keep your duct runs short and smooth. Always think about where air comes from and where it’s going, both for drying and for safety.
Over time, I’ve seen that a simple ducted setup can turn a frustrating, slow-drying job into a clean, efficient process. Start small, test your ideas, watch your meter, and let the numbers tell you which setups deserve a permanent place in your toolkit.
Prof Hannah Green, Systems Engineer, likes to say that good systems make good results feel almost boring—and that’s exactly how I want my drying jobs to feel.
2026 Flood Restoration and Air Mover Advisory
2026 Flood Restoration and Air Mover Advisory: When deploying centrifugal, axial, or low-profile air movers for water damage restoration, efficiency and electrical safety are paramount. Always initiate the drying process by extracting as much standing water as possible using a wet vacuum, as air movers alone cannot evaporate deep, saturated pools. Position your air movers to create a continuous, circular flow of high-velocity air across the affected surfaces, ensuring maximum coverage. Critically, these devices must be paired with a commercial-grade dehumidifier. Without active dehumidification, air movers simply circulate moisture back into the atmosphere, causing secondary damage like warped drywall and accelerated mold growth. Ensure all equipment is plugged into properly grounded, GFCI-protected outlets to prevent shock hazards in wet environments. Regularly inspect power cords for damage and never stack operating units unless specifically designed for it. Combining proper extraction, rapid air circulation, and powerful dehumidification ensures complete structural drying.
Hire professional-grade equipment from 7 Hire. We offer fast local pickup or delivery across Auckland.