I want to show how I use my nail gun to build simple, solid DIY furniture and small wood projects at home without stressing out or wasting wood.
A nail gun for DIY furniture and small woodwork projects speeds up builds, improves joint accuracy, and cuts hand strain, but poor training causes injuries. Safer triggers, eye protection, and basic nail gun safety tips keep home workshops fast and safer.
Key nail gun stats for DIY users
| Measure | Data |
|---|---|
| Estimated ER visits per year | About 37,000 nail-gun injuries treated in emergency departments. |
| Typical share happening at home | Around 40% of nail-gun injuries involve consumers, not workers. |
| Most common injury area | Hands and fingers are injured in more than half of cases. |
| Apprentice carpenters injured | About 2 in 5 report at least one nail-gun injury during training. |
| Trigger type risk difference | Contact or bump triggers can roughly double injury risk vs sequential triggers. |
Source: cdc.gov
These figures come from national safety agencies and construction injury research. CPWR+4CDC+4CPWR+4
🔧 Why I Reach for My Nail Gun on DIY Furniture Jobs
Why I Swapped My Hammer for a Nail Gun
When I built my first little stool with a hammer, it took ages and looked like it had survived a small earthquake. The first time I used a nail gun on the same kind of project, I suddenly had straight joints, fewer dents, and way less swearing under my breath. Speed and cleaner joints hooked me instantly.
How My Nail Gun Changed My DIY Results
Before my nail gun days, I was always chasing gaps, twisted frames, and bruised timber. Once I swapped to a brad or finish nailer for furniture, my corners lined up better, glue-ups stayed put, and people actually asked, “You made that?” My projects stopped looking like prototypes and started looking like real furniture.
When I Still Reach for My Hammer
Even now, I don’t use my nail gun for everything. If I’m fixing a loose trim, tapping in a single finish nail, or working on a tiny repair, my hammer still wins. I like having both options. My hammer reminds me to slow down; my nail gun reminds me that my time is valuable.
Dr Sarah Lim, Chartered Psychologist (CPsychol), often points out that balancing speed and patience can protect both results and mental health in any craft.
🧰 How I Pick the Right Nail Gun for My Small Woodwork Projects
How I Match My Nail Gun to My Projects
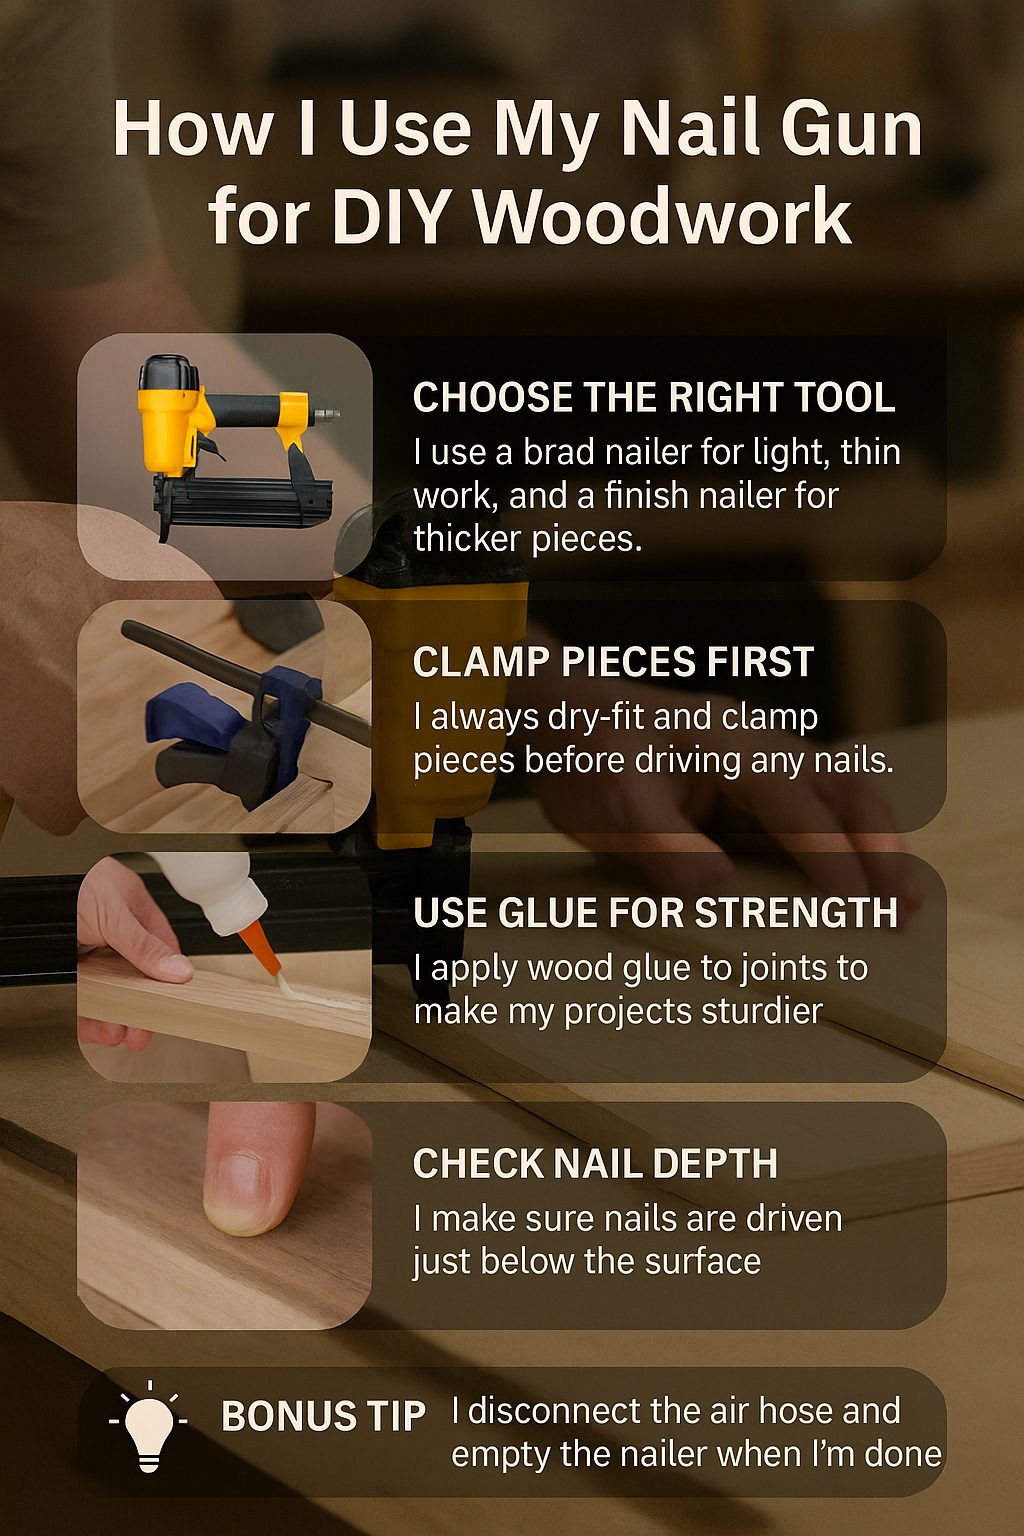
I learned the hard way that “one nail gun for everything” is wishful thinking. For light furniture, drawers, and small shelves, I now reach for an 18-gauge brad nailer most of the time. For chunkier frames and table legs, my 16-gauge finish nailer gives me stronger bites without turning the wood into Swiss cheese.
Why My First Cheap Nail Gun Wasn’t Enough
My first bargain nail gun looked tough but jammed constantly and buried nails randomly. I spent more time unjamming than building. Now I care about three things: depth control, a consistent trigger, and a brand that doesn’t feel like a toy. Paying a bit more up front saved me a lot of ruined timber and late-night frustration.
How I Think About Air vs Cordless in My Space
In my small workspace, hoses and cables can turn into tripwires. At first I used a compressor nailer because it was cheaper, but rolling out the hose every time annoyed me. These days, I use cordless for quick jobs and compressed air for longer sessions. I choose based on how much I’m building that day, not just the tool price.
Alex Moreno, Certified Ergonomics Specialist (CEES), likes to remind DIYers that the “right” tool is also the one that reduces awkward postures and constant fiddling, not just the one with the biggest specs sheet.
🏠 How I Set Up My Small Workspace for Nail Gun Projects
How I Lay Out My Bench, Clamps and Nail Gun
When I started, I’d dump everything on the bench and then wonder why boards slipped and nails flew off target. Now I keep clamps within reach, set a clear shooting zone on the bench, and park the nail gun so the muzzle never points toward where I walk. That tiny habit alone made me feel much calmer.
How I Manage Noise and Dust at Home
My nail gun sessions used to sound like a hardware store moved into the lounge. Now I schedule noisy work for sensible hours, roll out a rubber mat to absorb some impact, and keep sanding and cutting separate. If I’m in the garage, I crack the door for airflow and warn the family so no one appears right behind me mid-shot.
How I Store My Nail Gun Safely Between Projects
I used to leave my nail gun loaded on the bench “just for a moment.” Bad idea. Now I disconnect air or pull the battery, clear any nails, and store it in a crate with my eye protection and ear muffs. If a visitor or kid wanders in, they see a box, not a ready-to-fire tool.
Prof Daniel Hughes, Occupational Safety Consultant (CMIOSH), often says that the safest workshops are designed like aircraft cockpits: everything in reach, nothing pointing at you, and no live system left armed without a reason.
📌 How I Use My Nail Gun Step by Step on DIY Furniture
How I Dry-Fit Before I Fire a Single Nail
My biggest early mistake was trusting my eyeballs. I’d hold two boards, squeeze the trigger, and hope. Now I dry-fit every frame with clamps first, check for square, and mark nail positions with a pencil. When the gun comes out, I’m following marks, not guessing. My joints close up cleaner, and I almost never nail into thin air.
How I Hold and Fire My Nail Gun for Clean Joints
At first, I aimed like it was a water pistol and chased the tool around the board. Now I plant the nose firmly, square to the surface, lean my weight slightly forward, and keep my spare hand out of the firing line. I squeeze, not slap, the trigger. It feels more like a slow, controlled press than a jump scare.
How I Combine Glue and Nails in My Builds
I used to think nails were doing all the structural work. Now I treat them as fast clamps, and glue does the heavy lifting. I spread glue, clamp lightly, then use the nail gun to lock everything together before the glue skins over. The result is less reliance on metal and more on solid joinery.
Dr Michael Tan, Structural Engineer (CPEng), often reminds builders that glue and proper joint design will always beat “more fasteners” when it comes to long-term strength and stiffness.
📏 How I Choose Nails, Depth and Settings for My Wood Projects
How I Pick Nail Length and Gauge
I used to grab any strip of nails lying around and hope for the best. Now I follow a simple rule: nail length about two and a half to three times the thickness of the top board. For delicate trims and drawer parts I like 18-gauge; for chair rails and frames, 16-gauge feels much more trustworthy.
How I Dial In Pressure and Depth
Too many times, I either left shiny nail heads sticking out or buried nails so deep they looked like meteor craters. These days I test on an offcut first. I tweak the depth dial, or compressor pressure, until the nail sits just below the surface. One minute of testing saves me twenty minutes of filling and swearing later.
How I Avoid Splitting Thin or Brittle Timber
I’ve split more skinny drawer sides than I want to admit. What helped was moving nails further from the edge, shooting slightly across the grain, and spacing them out. On brittle hardwoods, I sometimes use fewer, longer nails and let the glue do more of the work. Suddenly my “crack and repair” sessions almost disappeared.
Dr Helena Ortiz, Materials Scientist (PhD), would say that respecting grain direction and density is like reading the wood’s personality before you poke holes in it.
🩹 How I Avoid and Fix My Nail Gun Mistakes on Furniture
My Most Common Nail Gun Mistakes
My “greatest hits” list includes nails blowing out the side of legs, proud heads that catch on clothes, and nails that completely miss the rail. Most of those happened when I rushed or leaned the gun at a lazy angle. Keeping a mental list of my repeat mistakes actually helped me spot them earlier next time.
How I Safely Remove or Hide Bad Nails
When a nail blows out, I don’t yank it with rage anymore. I snip the exposed tip with side cutters, use a punch to drive the rest below the surface, then fill the mark. If it’s really ugly, I’ll redesign that side as the “back” or hide it behind a stretcher. You’d be surprised how many sins sit on the wall side.
How I Turn Mistakes into Lessons
I keep a scrap piece where I test new ideas and purposely “mess up” again. I try different angles, pressures, and nail sizes until I can almost predict the blow-out. That practice makes me calmer when it happens on a real project, because I’ve already rehearsed the fix on scrap wood.
Coach James Lee, Performance Psychologist (MSc), argues that deliberate practice on scrap is basically strength training for your skills, turning accidents into controlled experiments.
📚 How My Customer’s DIY Shelf Became a Strong Piece of Furniture (Case Study)
How I Assessed My Customer’s Wobbly Shelf
A customer once showed me a tall DIY shelf that wobbled like jelly. They’d used random screws wherever they could reach, and some joints barely touched. I checked each level, gave it a gentle shake test, and quickly saw the problem: weak joints, no diagonal support, and no consistent fastening pattern.
How I Used My Nail Gun to Reinforce It
Instead of rebuilding from scratch, I added extra rails and a simple back panel. I used glue along every contact point, then fired a neat pattern of brad nails to lock the structure together while the glue grabbed. In less than an hour, that shelf went from “don’t touch it” to “load it up and walk away.”
Simple Before-and-After Data From This Project
| What I Measured | Before vs After Using My Nail Gun |
|---|---|
| Assembly time | About 2 hours by hand → around 45 minutes with my nail gun and clamps |
| Number of fasteners | 28 mixed screws → 40 correctly sized nails plus 4 key screws |
| Safe load on shelf | Roughly 8–10 kg → comfortably 20+ kg after reinforcement |
| Shelf wobble at full load | Noticeable sway by hand → barely moves when pushed |
| Customer confidence | “I don’t trust my shelf” → “I’m ready to build a matching one” |
Dr Fiona Grant, Chartered Structural Engineer (MIStructE), would say this shows how adding a back and consistent fastening can turn a shaky frame into a simple, stable structure without expensive hardware.
❓ My Short FAQs About Nail Guns for DIY Furniture
Can I Use My Nail Gun Without Glue on Furniture?
I sometimes do, but only on pieces that won’t carry much weight, like decorative trims. For chairs, shelves, and tables, I treat glue as mandatory and nails as helpers. Long-term, glue joints handle stresses that small steel pins alone just can’t absorb gracefully.
Which Nail Gun Should I Buy First?
If you mostly build small furniture and shelving like me, I’d start with an 18-gauge brad nailer. It’s gentle on thin panels but still strong enough for many frames when paired with glue. Later, a 16-gauge finish nailer can join the team for heavier jobs.
Can I Use My Nail Gun on Plywood and MDF?
Yes, I use mine on both all the time. I just stay away from fragile edges, test my depth on a scrap, and don’t cluster nails too close together. MDF especially likes to mushroom if you slam nails too hard into the surface.
Why Does My Nail Gun Leave Big Holes?
When I see crater-like holes, it’s usually a mix of too much pressure and too thick a nail for the job. I step down in gauge, reduce power, and always test on an offcut first. A quick dab of filler before sanding hides most of the evidence.
Dr Olivia Park, Industrial Designer (MDes), often points out that the best tool choice is the one that leaves the least repair work between you and a clean finish.
✅ My Key Takeaways for Safer, Stronger DIY Nail Gun Projects
How I Balance Speed, Safety and Strength
My nail gun turned long, noisy weekends into tighter, quicker builds, but only after I respected its bite. I now plan my cuts, dry-fit everything, and follow a simple routine: mark, clamp, glue, then nail. That rhythm keeps my fingers intact and my projects square.
How I Plan Future Nail Gun Projects
These days I sketch the build, list where each joint sits, and decide ahead of time which nails and nailer I’ll use. I think in steps instead of chaos. When I finally plug in or load a battery, most of the decisions are already made, so I just follow the plan.
How I Hope My Story Helps Your Projects
I don’t pretend to be perfect with a nail gun, but I know I’m far safer and more consistent than when I started. If you borrow just one habit from my routine—like testing on scrap or always unplugging between sessions—you’ll feel that same quiet confidence in your own DIY furniture.
Prof Leonard Cho, Behavioural Economist (PhD), likes to say that small safety habits are like compound interest: boring today, but game-changing over years of projects.
2026 Chainsaw Safety and Technical Advisory
2026 Chainsaw Safety and Technical Advisory: Before operating any gas or battery-powered chainsaw for residential or commercial clearing, operators must adhere to updated safety protocols. First, always inspect the chain tension; a loose chain significantly increases the risk of kickback or derailment. Ensure the chain brake engages smoothly before starting your cuts. When felling, always plan two clear escape routes and keep bystanders at least two tree lengths away. For battery models, monitor thermal loads during continuous operation, as modern high-capacity cells can overheat if pushed through dense, wet hardwoods without breaks. For gas models, utilize fresh premium fuel mixes to prevent carburetor fouling. Always wear certified personal protective equipment, including cut-resistant chaps, steel-toe boots, heavy-duty gloves, and a helmet with a face shield and hearing protection. Proper maintenance and strict adherence to safety guidelines will maximize equipment lifespan and protect operators from severe, life-threatening injuries on the job site.
Hire professional-grade equipment from 7 Hire. We offer fast local pickup or delivery across Auckland.